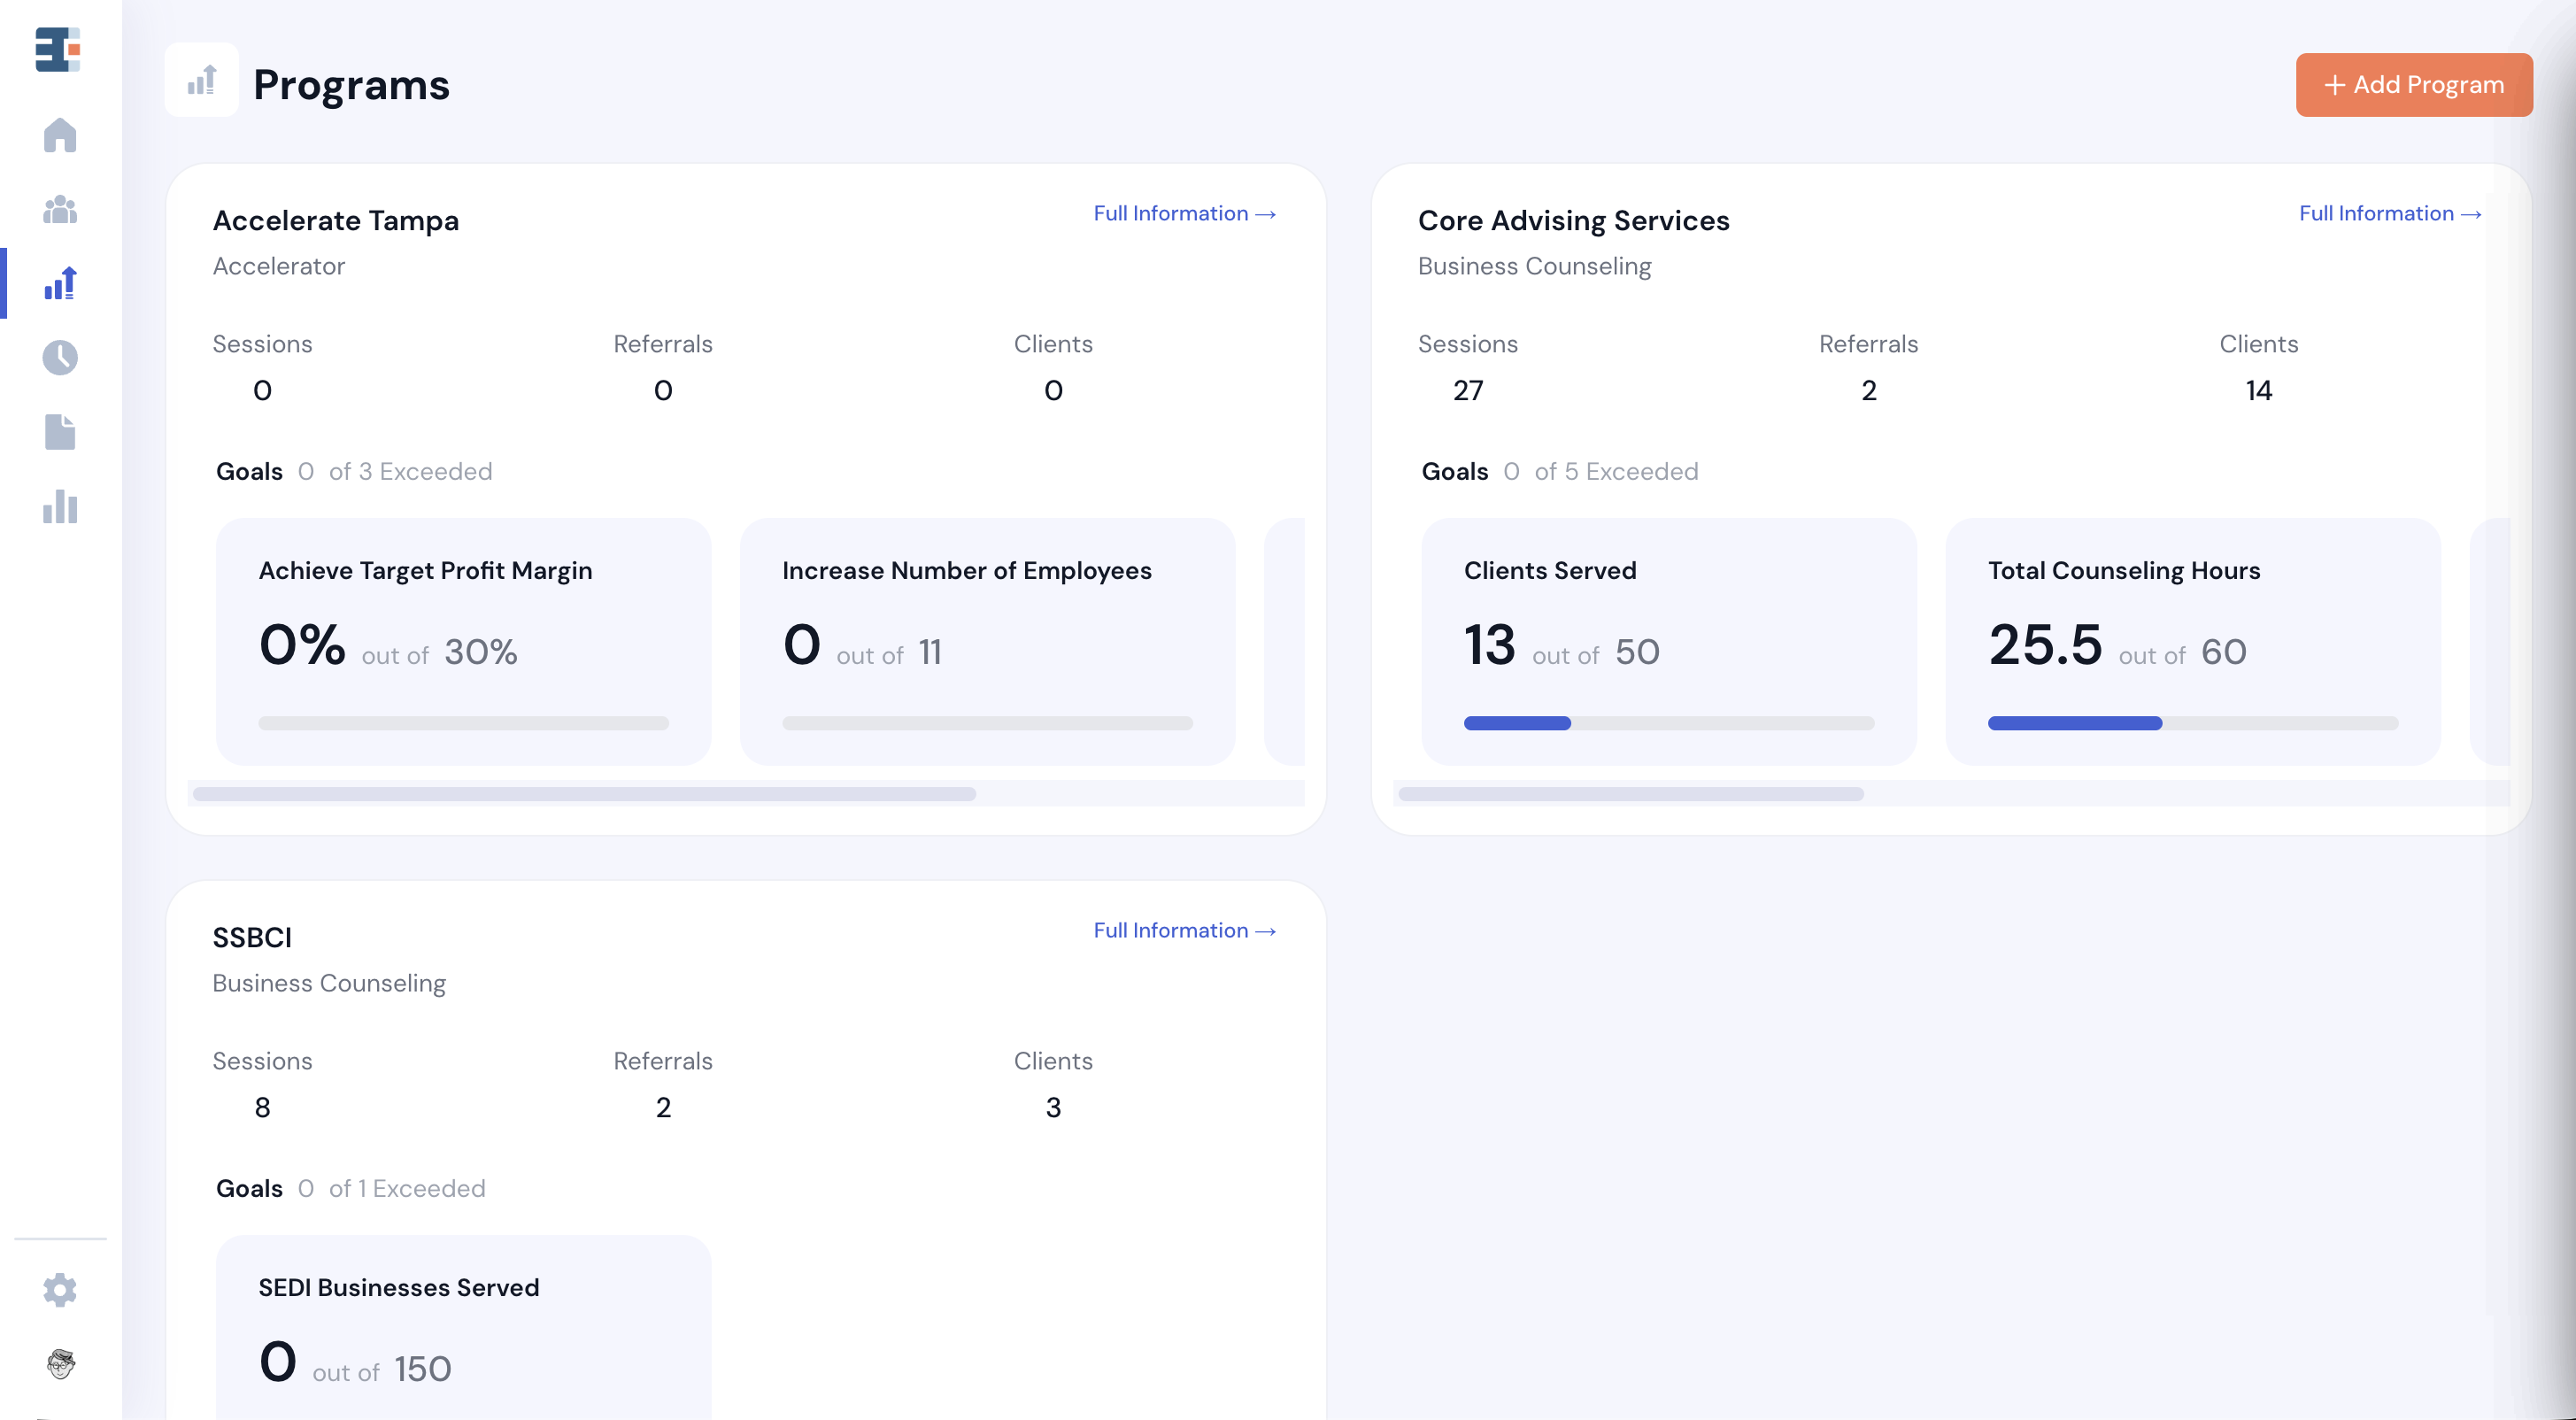
Sessions and referrals are two primary ways that 1:1 services are delivered, tracked, and attributed in Catalyzer.
You might log a session for:
- Business coaching meetings with a founder
- Technical assistance hours
- Check-ins
- Office hours
- Site visits or client drop-ins
You might use a referral to:
- Connect a business owner to another member of your team
- Collaborate with another mentor to support a client
- Send a client to an external provider (such as a lender or finance professional)
- Route a client to another organization in your network
Sessions and referrals are both considered service activities in Catalyzer. Service activities are how clients and their businesses officially receive services in the platform—and how those services can be attributed to the programs you run.
Other service activities in Catalyzer include cohorts and events.
Sessions
How to Record a Session in Catalyzer
%20FINAL.png)
The easiest way to record a session is to locate the client on the Clients List Page, hover over their name, and click the “New Session” button that appears.
This will generate a new session for that client and, if they only have one business on record, that business will be automatically selected.
The “New Session” button appears in multiple places throughout the platform, including:
- The Clients List Page
- A client’s record page
- A client’s form submission
You can also navigate directly to the Sessions tool and click “New Session” in the top right corner of the page.
Once the session page is open:
- Select the client and business (if not already selected).
- Fill out the relevant session details, such as:
- Title
- Date
- Duration
- Active Time, Prep Time, and Travel Time, captured as separate fields
- Start and end time
- Program attribution
- Any custom session properties your hub uses
💡 Active, prep, and travel time are recorded separately because funders frequently ask for them separately. Any hub reporting hours should agree on what counts as each and record them consistently.
After entering the basic details, click “Save.” This will open the full Session Record Page.
Session Types
A session can carry a session type, which shapes both the details you record and the note you write.
Session types are configured in Settings → Tools → Sessions. For each type, a template editor controls two things:
- Which session fields appear, and which are required. Use Make Required on any field your team must not skip.
- The note canvas layout, built from text blocks and property tiles.
A property tile lets you update a client or business property from inside the note itself. The update happens where the conversation is recorded, so nothing gets lost between finishing a note and remembering to change a property.
Session types keep note-taking consistent across advisors, which matters when several people serve the same clients and those notes feed the same reports.
The Session Record Page
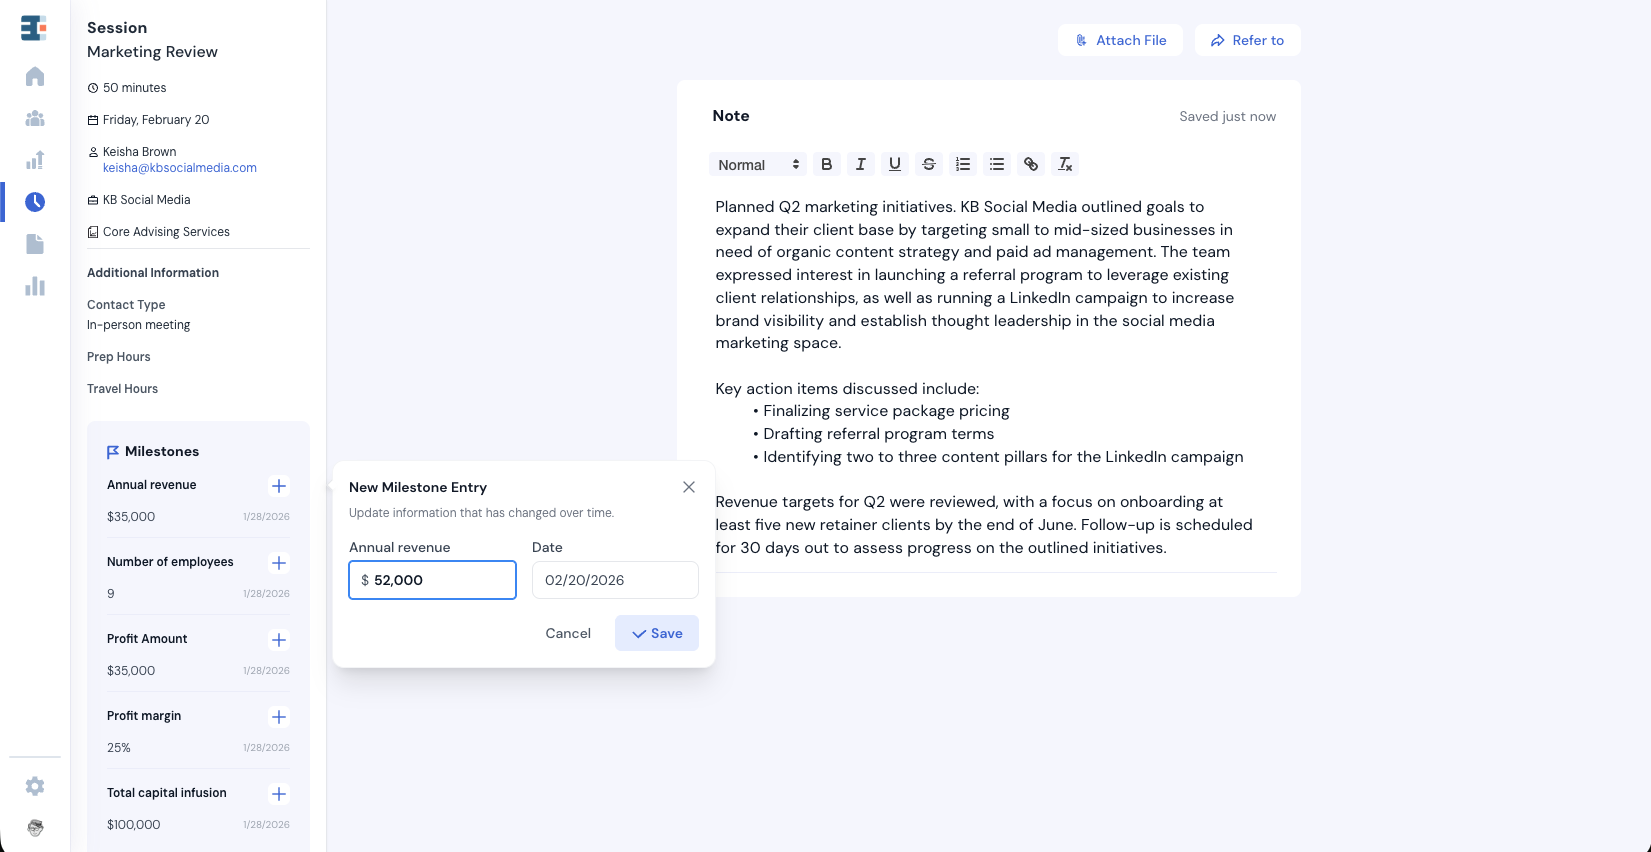
The Session Record Page includes:
- A left-hand sidebar, where you can view basic client and business information, update milestones, and view or attach files.
- A central notes canvas. For a session with a session type, the canvas opens pre-built from that type's template, with its text blocks and property tiles already in place. For an untyped session, the canvas is free-form. Either way, this is where you record notes, make referrals, update properties, and attach files.
To edit session details after saving, click the edit icon at the top of the left-hand sidebar.
💡 Note: A session can only be logged for one client, one business, and one program at a time.
Draft Sessions
A session can be saved as a draft rather than published. Use drafts for notes you intend to finish later, so an incomplete record doesn't read as a completed service.
How to View Sessions in Catalyzer
Depending on your permission level, you can view:
- All sessions in your hub
- Or only the sessions assigned to you
To access sessions, navigate to the Sessions List Page from the left-side navigation.
%20FINAL.png)
On the Sessions List Page, you’ll see a list of all sessions you have access to. Clicking any row will open that session’s record page, where you can view or edit details and notes.
Referrals
Sending a Referral
Referrals live in three places: the Referrals page in the left-side navigation, the referral detail page that opens from any referral row, and the Pending Referrals area of your home screen, which surfaces referrals waiting on you.
The Referrals page organizes referrals into tabs, so you can look at them from whichever angle you need:
- My Referrals and All Referrals
- Received
- Sent to My Hub
- Created in My Hub
- Created in My Network
A Source Hub column shows where each referral originated, which matters most in a network where referrals cross organizational lines.
%20FINAL.png)
Like sessions, referrals can be created from multiple areas of the platform. The simplest way to send a referral is to locate the client on the Clients List Page, hover over their name, and click the arrow icon that appears.
You can also initiate a referral from:
- A client’s record page
- A form submission
- A session
Selecting “Refer to” will open the Referral Creation Panel on the right side of the screen, with the client pre-selected.
If the client has more than one business on record, you’ll need to choose which business the referral is for. Referrals can only be created for one client and one business at a time.
Next:
- Select the recipient of the referral:
- Another user in your hub (via dropdown), or
- An external email address
- (Optional) Expand the panel to:
- Attribute the referral to a program
- Add notes for the referral recipient
When you click “Refer,” the recipient will receive an email with the referral details and a link to view it in Catalyzer.
Receiving a Referral
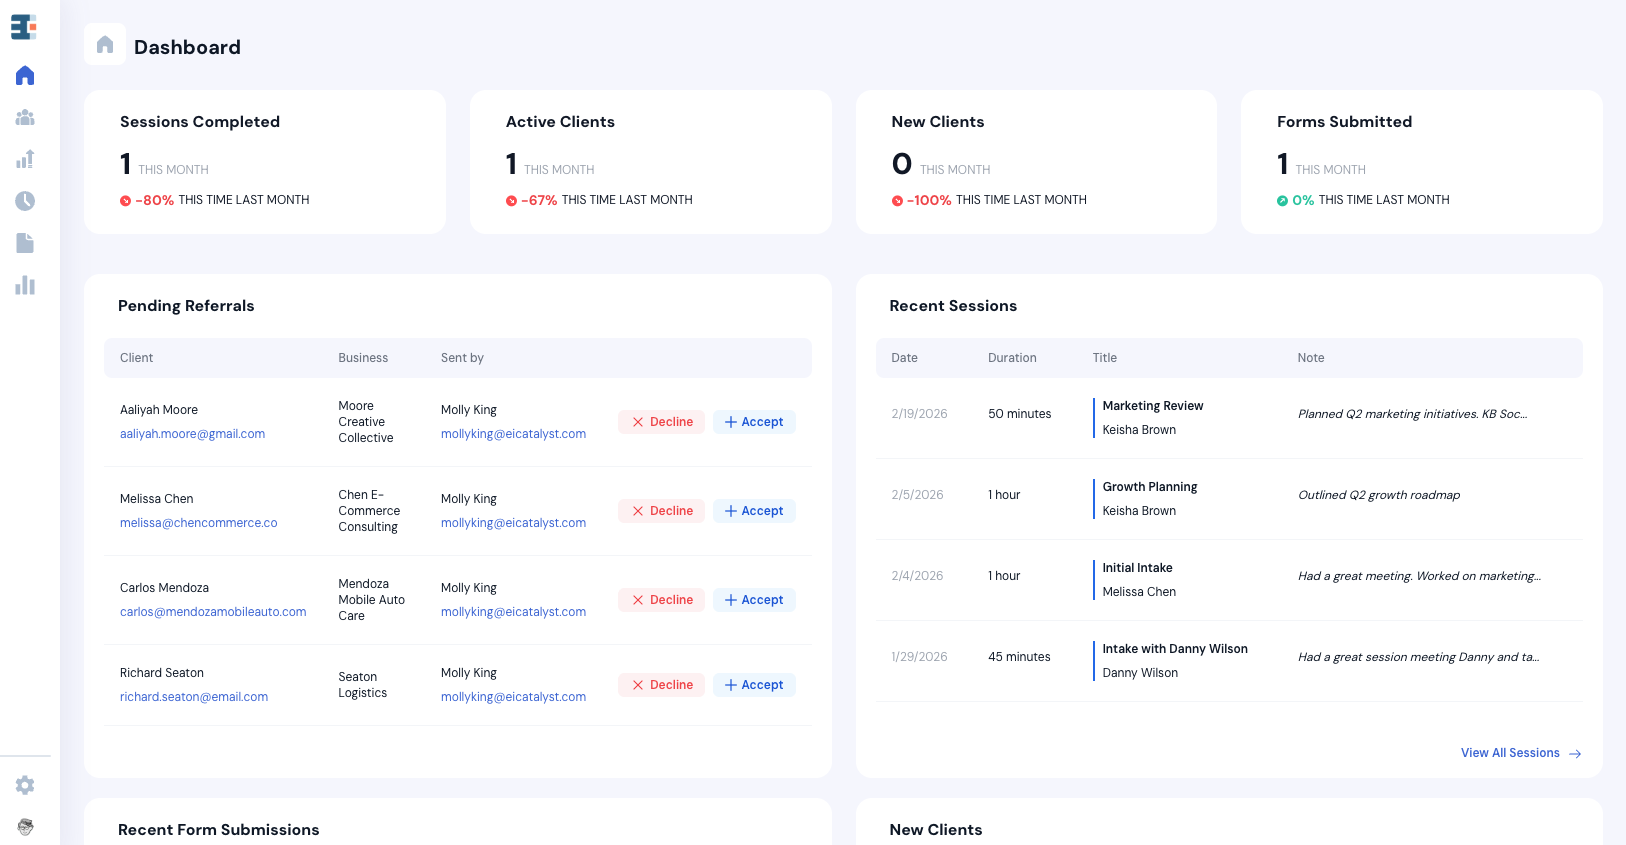
Referrals sent to you will appear on your Home Screen under “Pending Referrals.” You will also receive an email notification.
Each referral can be accepted or declined using the action buttons.
- When you accept a referral:
- The client is added to your My Clients list
- You can begin logging sessions or reviewing their properties
- When you decline a referral:
- It is removed from your Pending Referrals list
Referrals to a Hub
A referral can be addressed to a hub rather than to an individual. Users in the receiving hub can accept or decline it, and an accepted referral adds the client to the hub's client list rather than to any single user's personal list. This is the standard way to route clients between organizations in a Hub Network.