Overview
In Catalyzer, a cohort is a group of clients receiving the same service together under a given program.
In the real world, cohort-based programs often take the form of accelerators, incubators, or other time-bound initiatives where participants meet regularly over several months.
In Catalyzer, cohorts are created and managed within the Programs tool. Every cohort lives under a parent program.
Programs vs. Cohorts
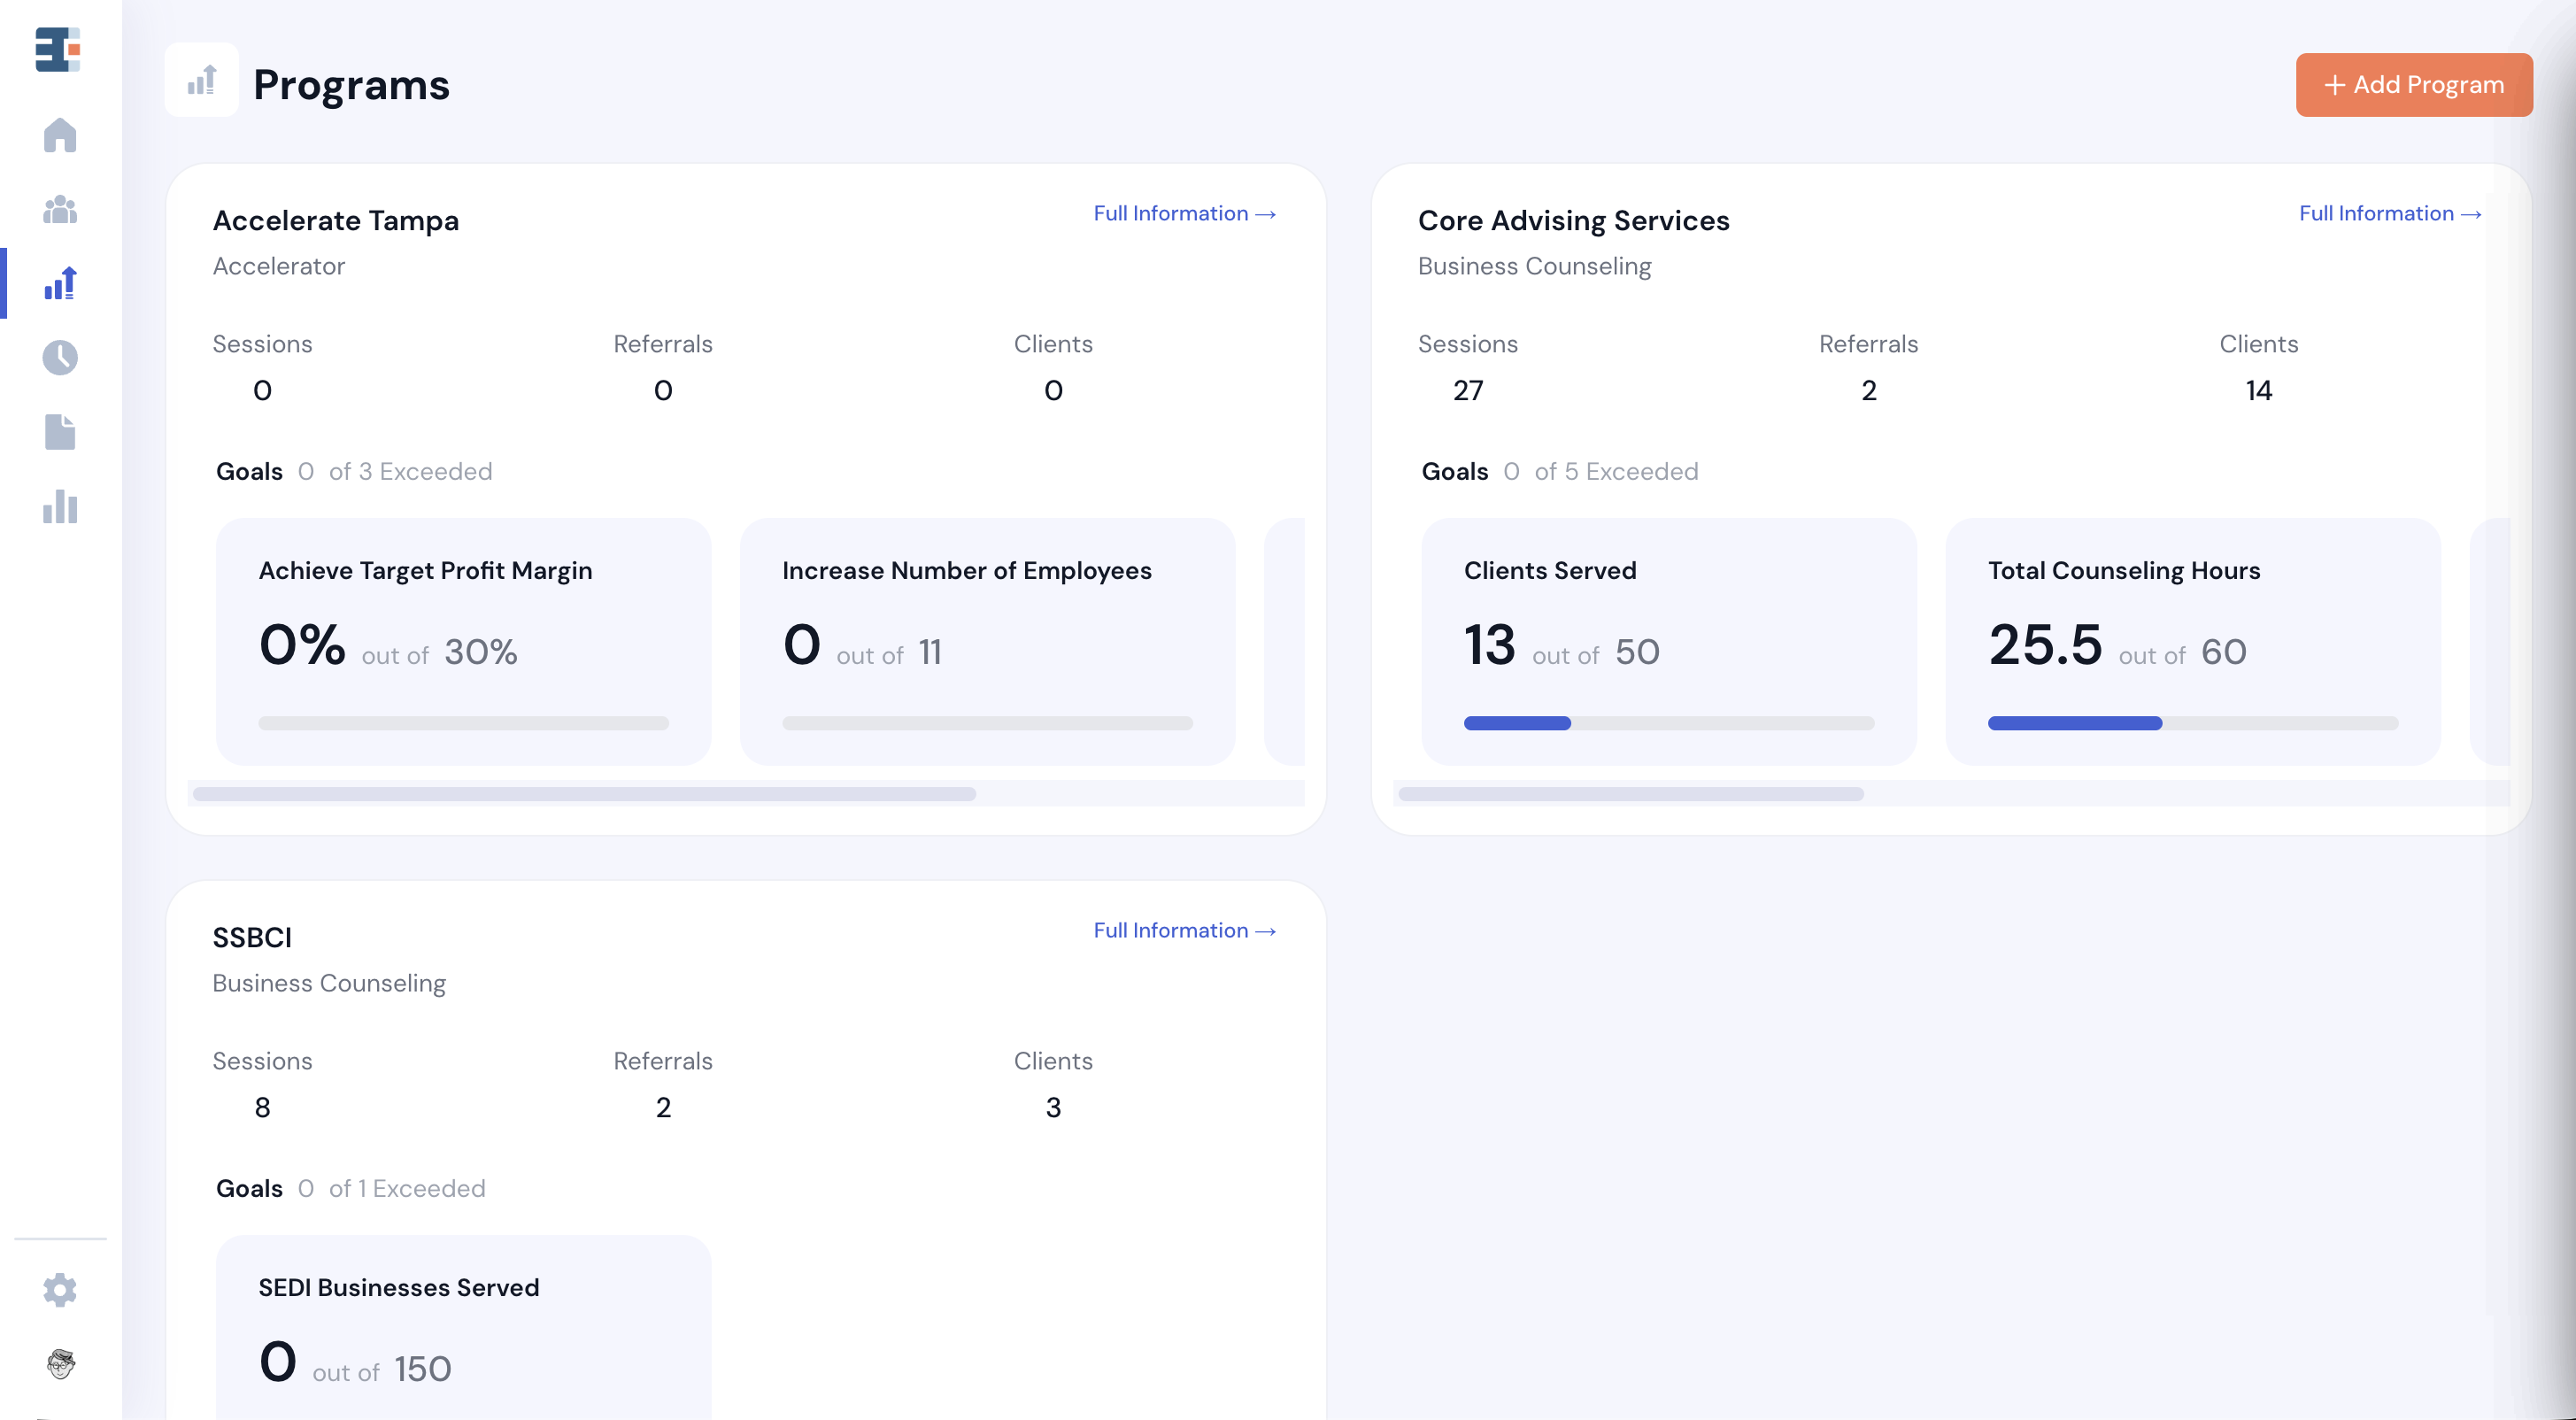
There is an important distinction between programs and cohorts in Catalyzer.
Programs are the parent initiatives under which service activities—sessions, referrals, events, and cohorts—are recorded.
Cohorts are one specific type of service activity. They allow you to group clients who are receiving the same structured experience at the same time.
💡 For example, imagine your organization runs an accelerator program called Accelerate Tampa that operates twice per year — once in the spring and once in the fall. In that case, you would have two cohorts under that program: Accelerate Tampa – Spring 2026 and Accelerate Tampa – Fall 2026
Programs define the initiative. Cohorts define the time-bound group experience within it.
How to Create a Cohort
To create a cohort, you must first create the program it will live under.
Once the program exists:
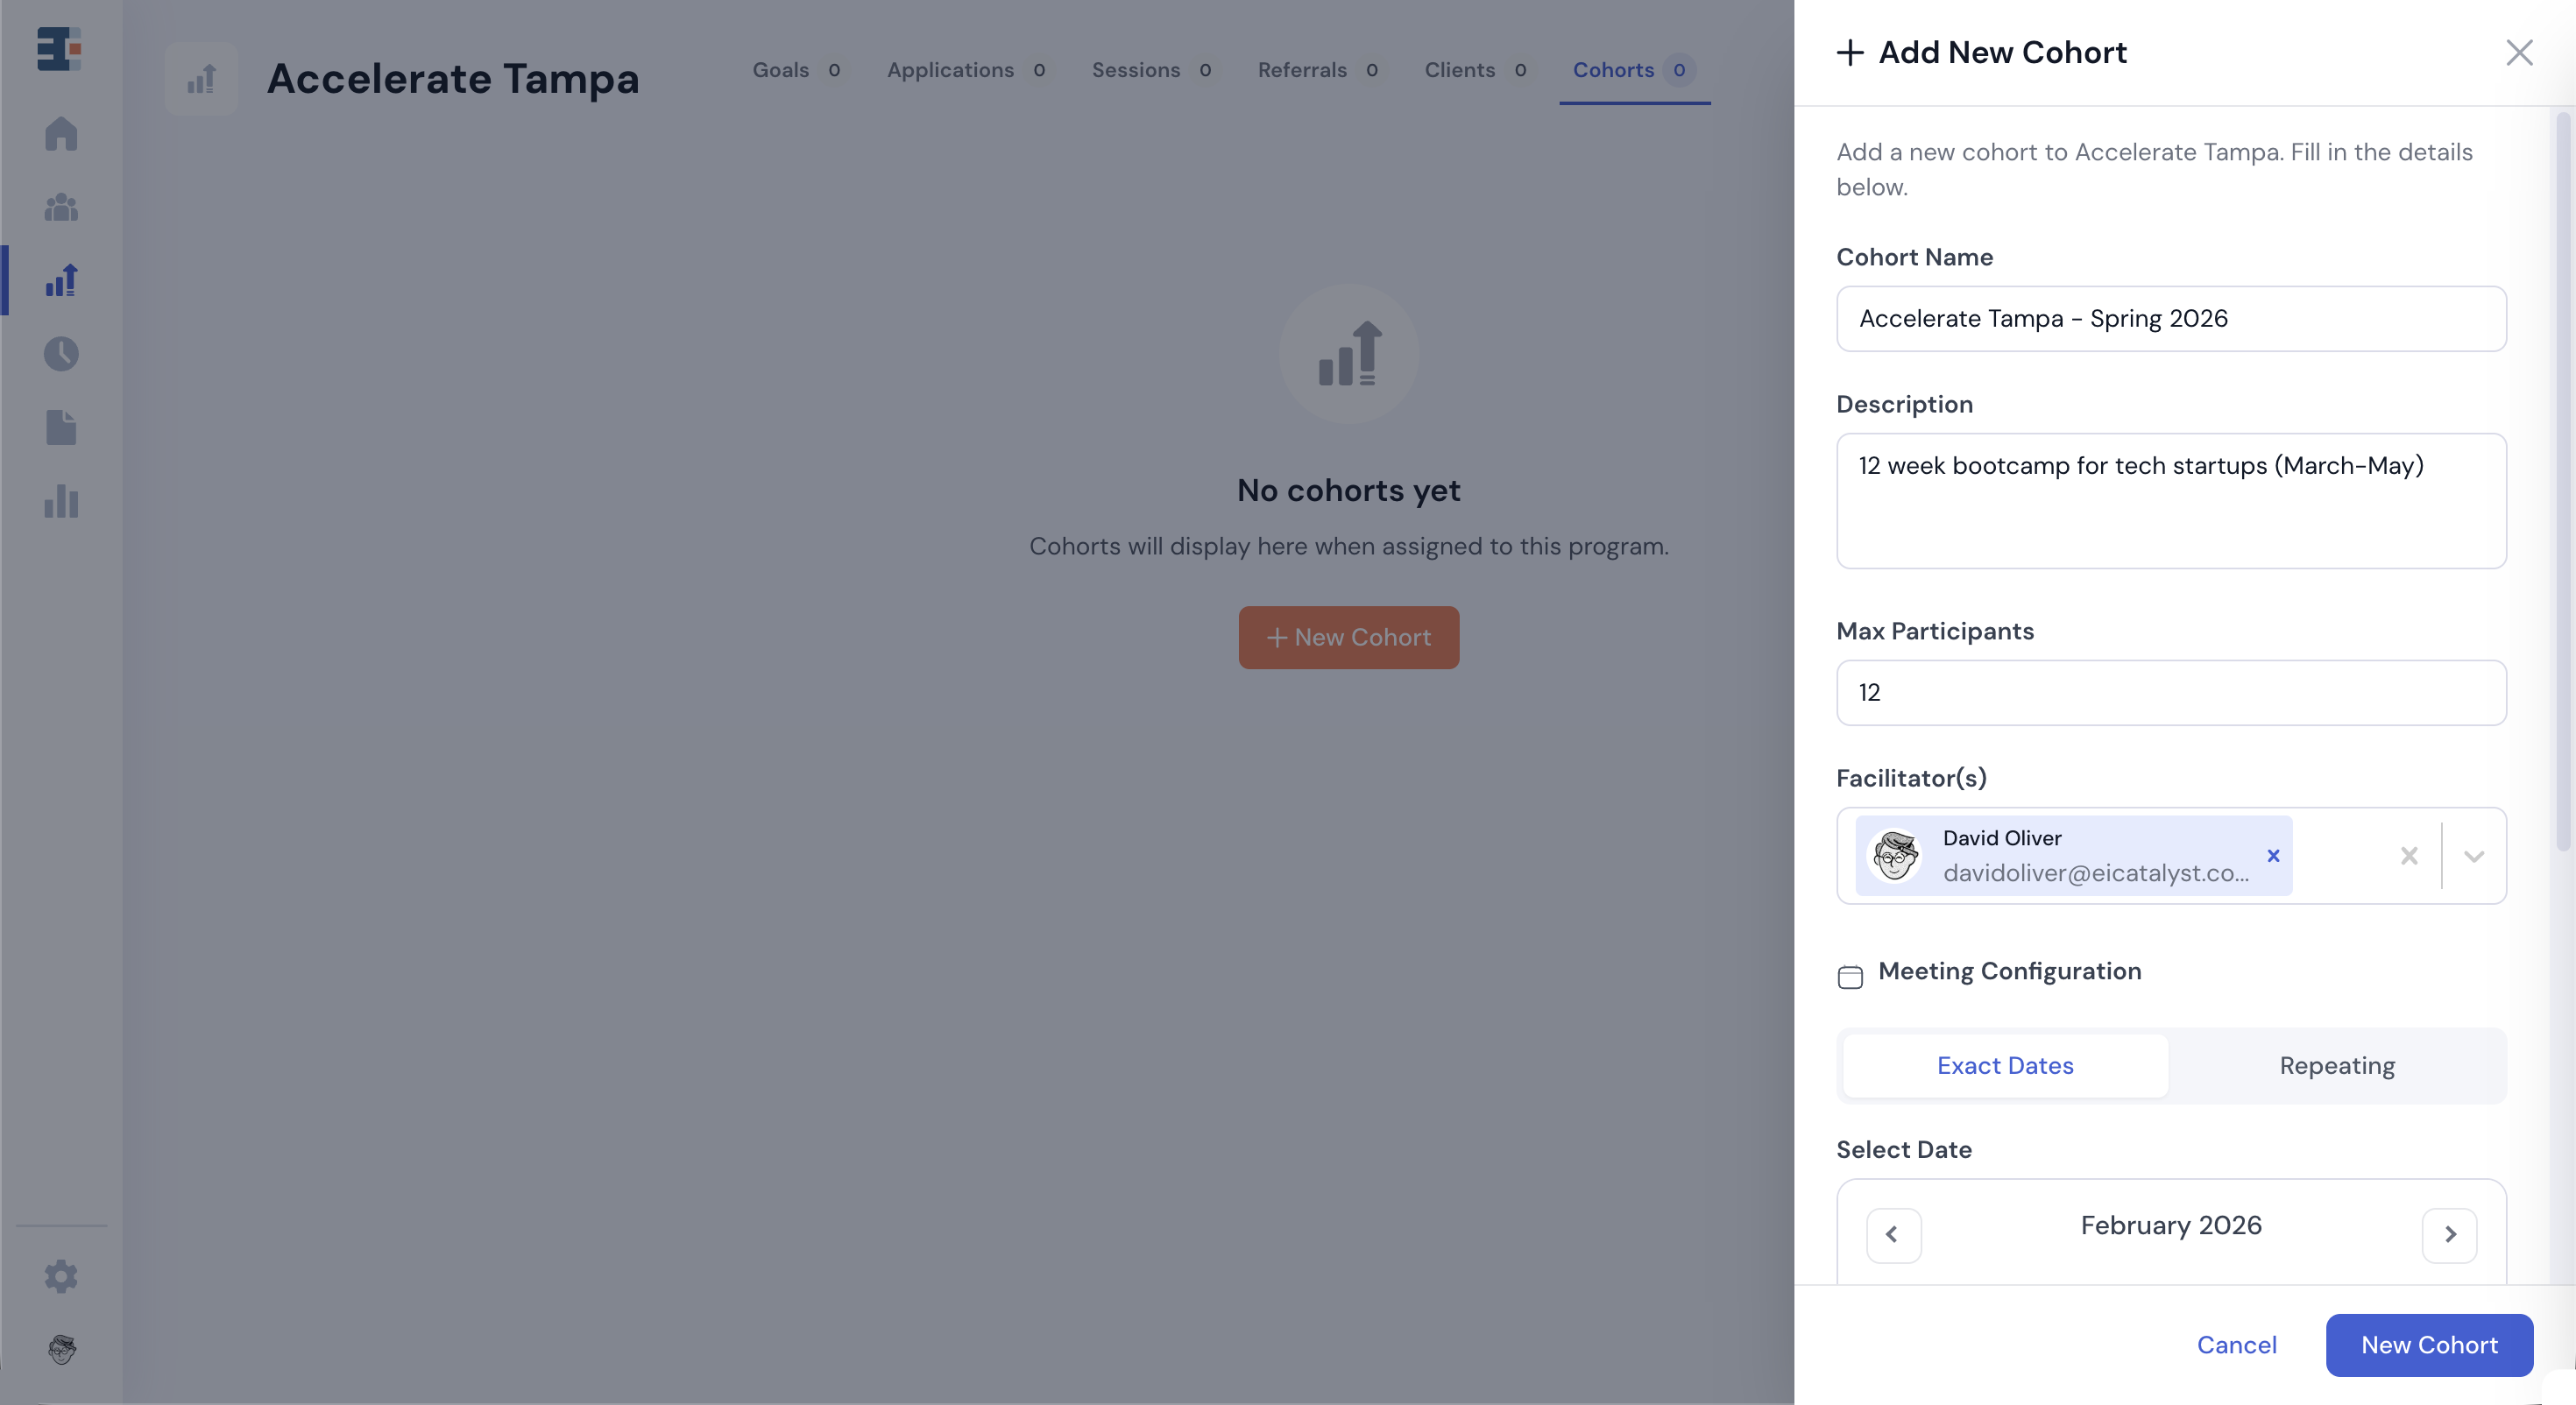
- Navigate to the Cohorts tab within that program.
- Click New Cohort.
In the cohort creation flow, you’ll define the following:
Description
Add a short description for internal reference—especially helpful if multiple cohorts are running at similar times.
Max Capacity
Set a participant limit for the cohort. Once the maximum capacity is reached, no additional participants can be added.
Facilitators
Assign one or more facilitators from the list of users in your hub. Facilitators help manage and deliver the cohort experience.
Meeting Dates and Times
Define when the cohort will meet.
You can either:
- Enter exact meeting dates manually, or
- Set up a recurring schedule
If meeting times vary, use the manual setup so each meeting can be configured individually.
Participants
After saving the cohort details, you’ll be prompted to add participants. This is not your only opportunity to do so — participants can be added later as well.
Adding Participants
There are several ways to add clients to a cohort.
Through an Application
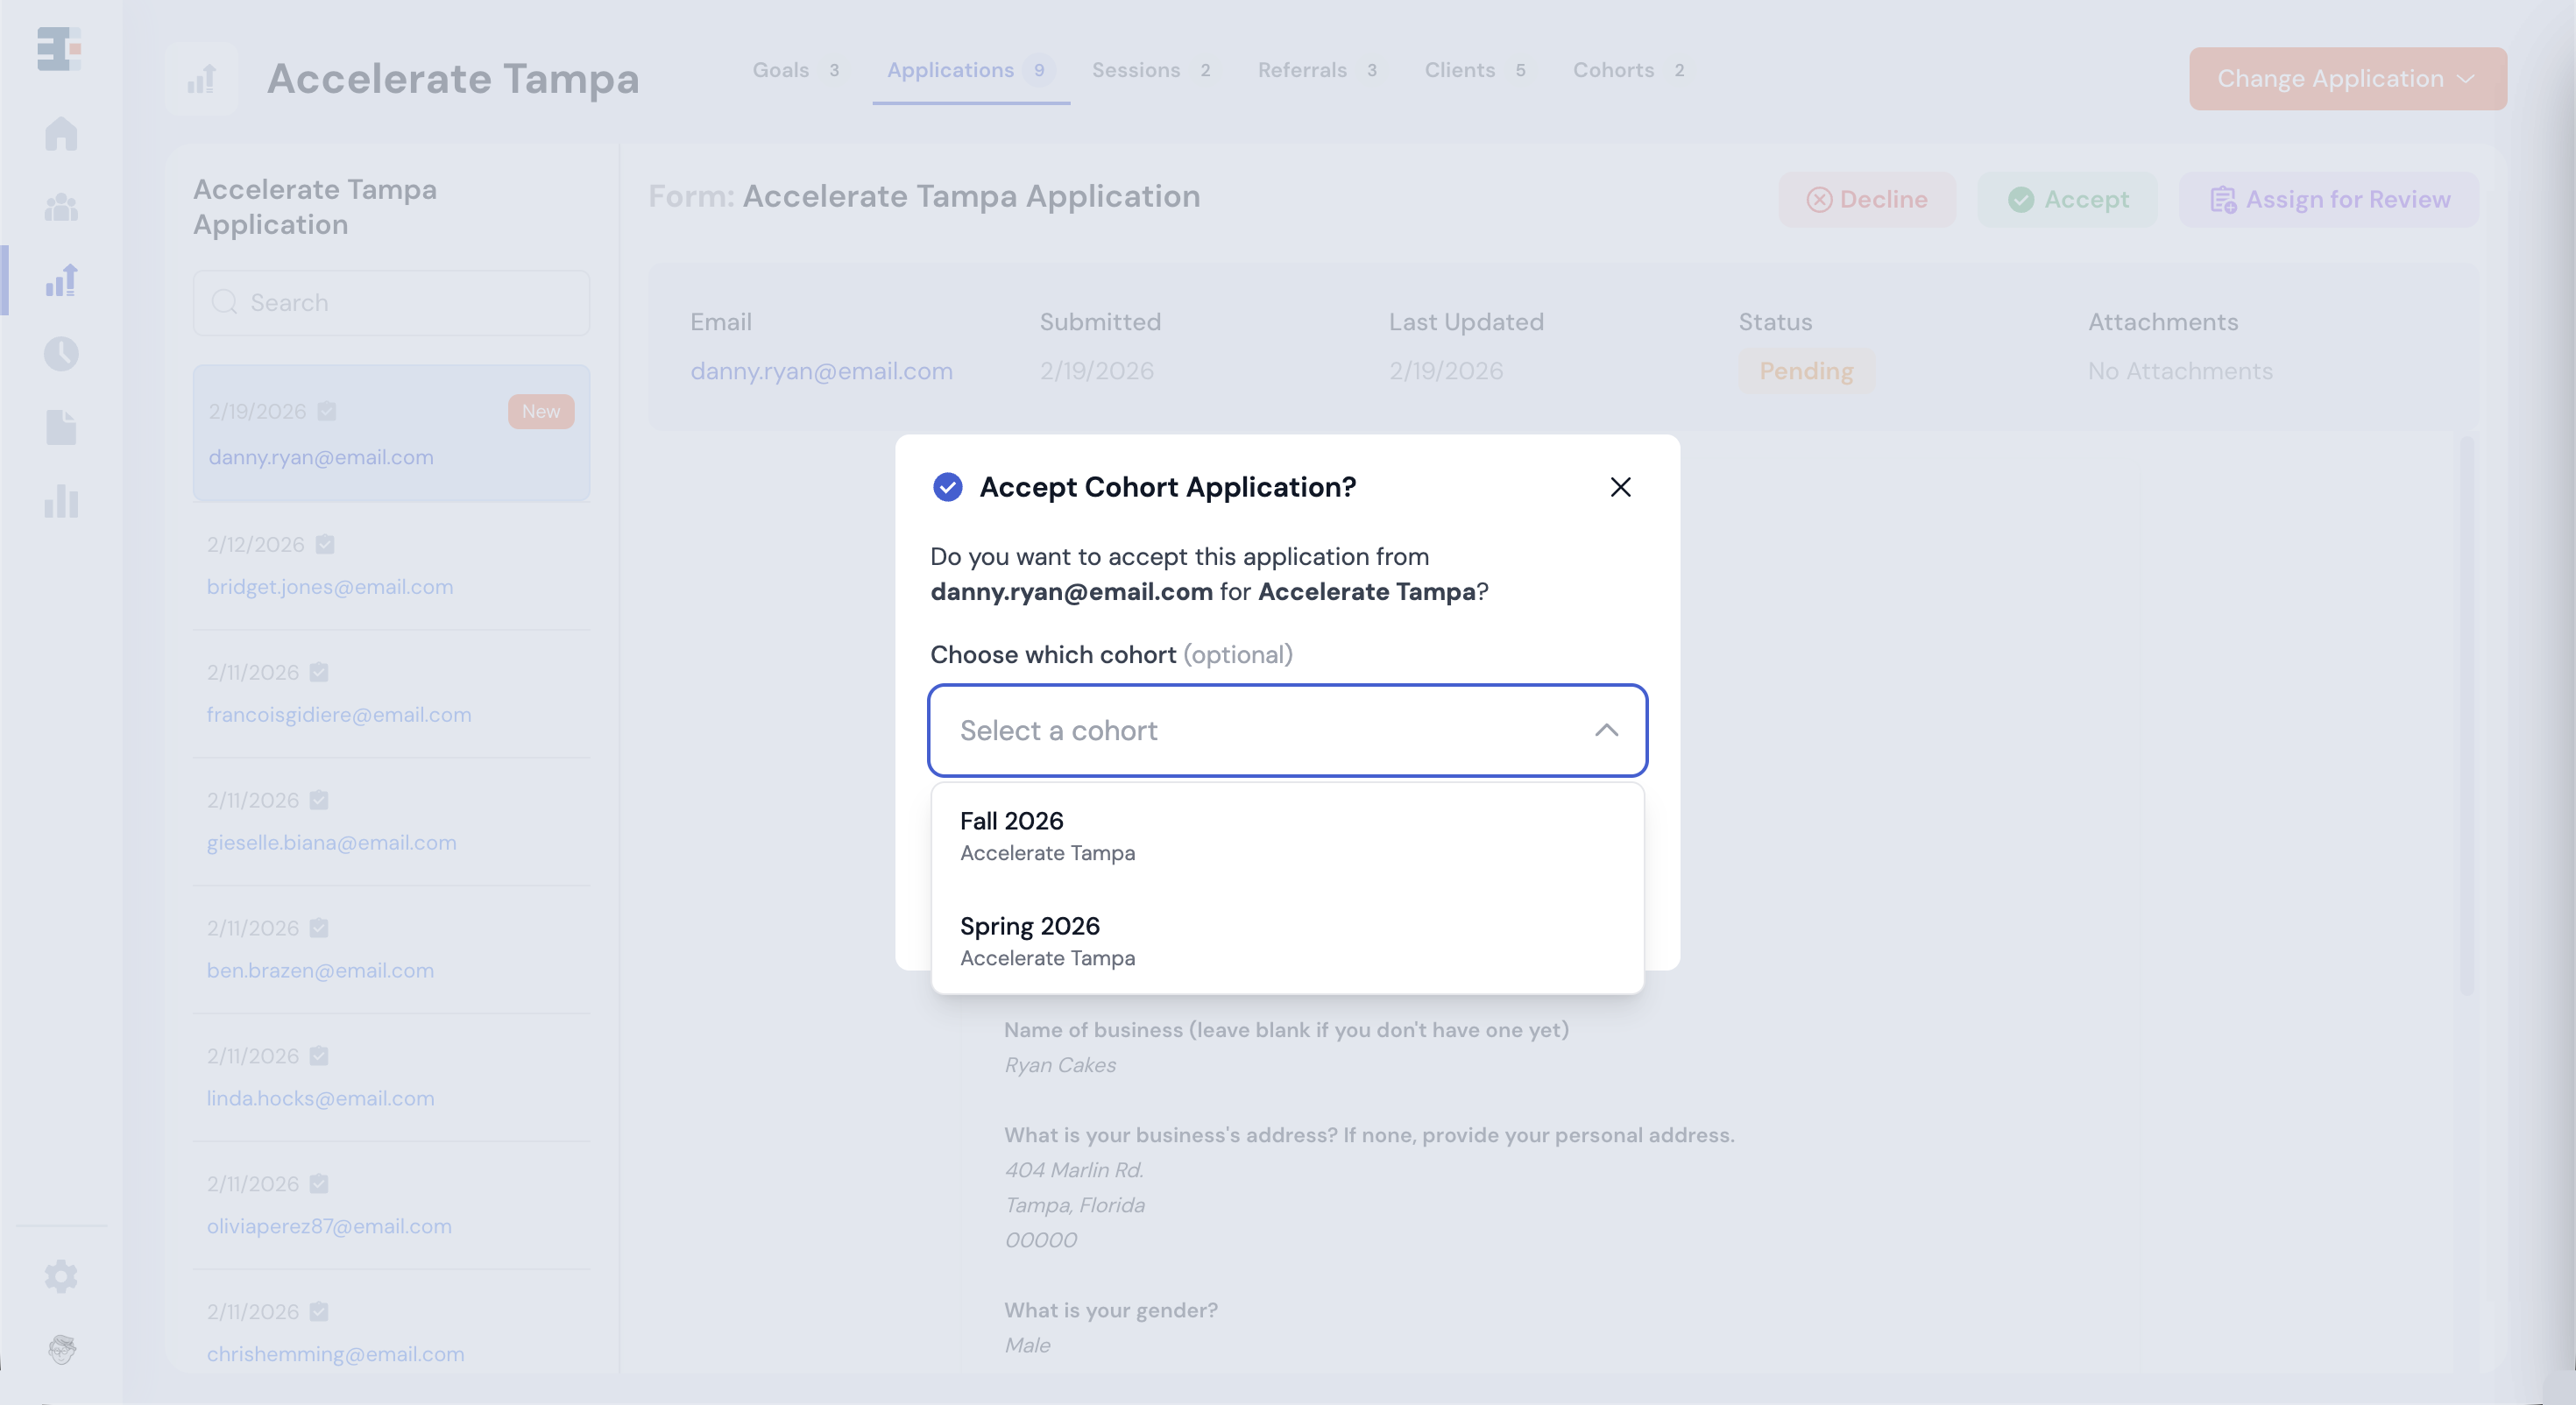
If your program has a connected application, you’ll be prompted to select a cohort when accepting an applicant.
This step is optional — not every accepted applicant must be placed in a cohort — but it provides the most streamlined workflow.
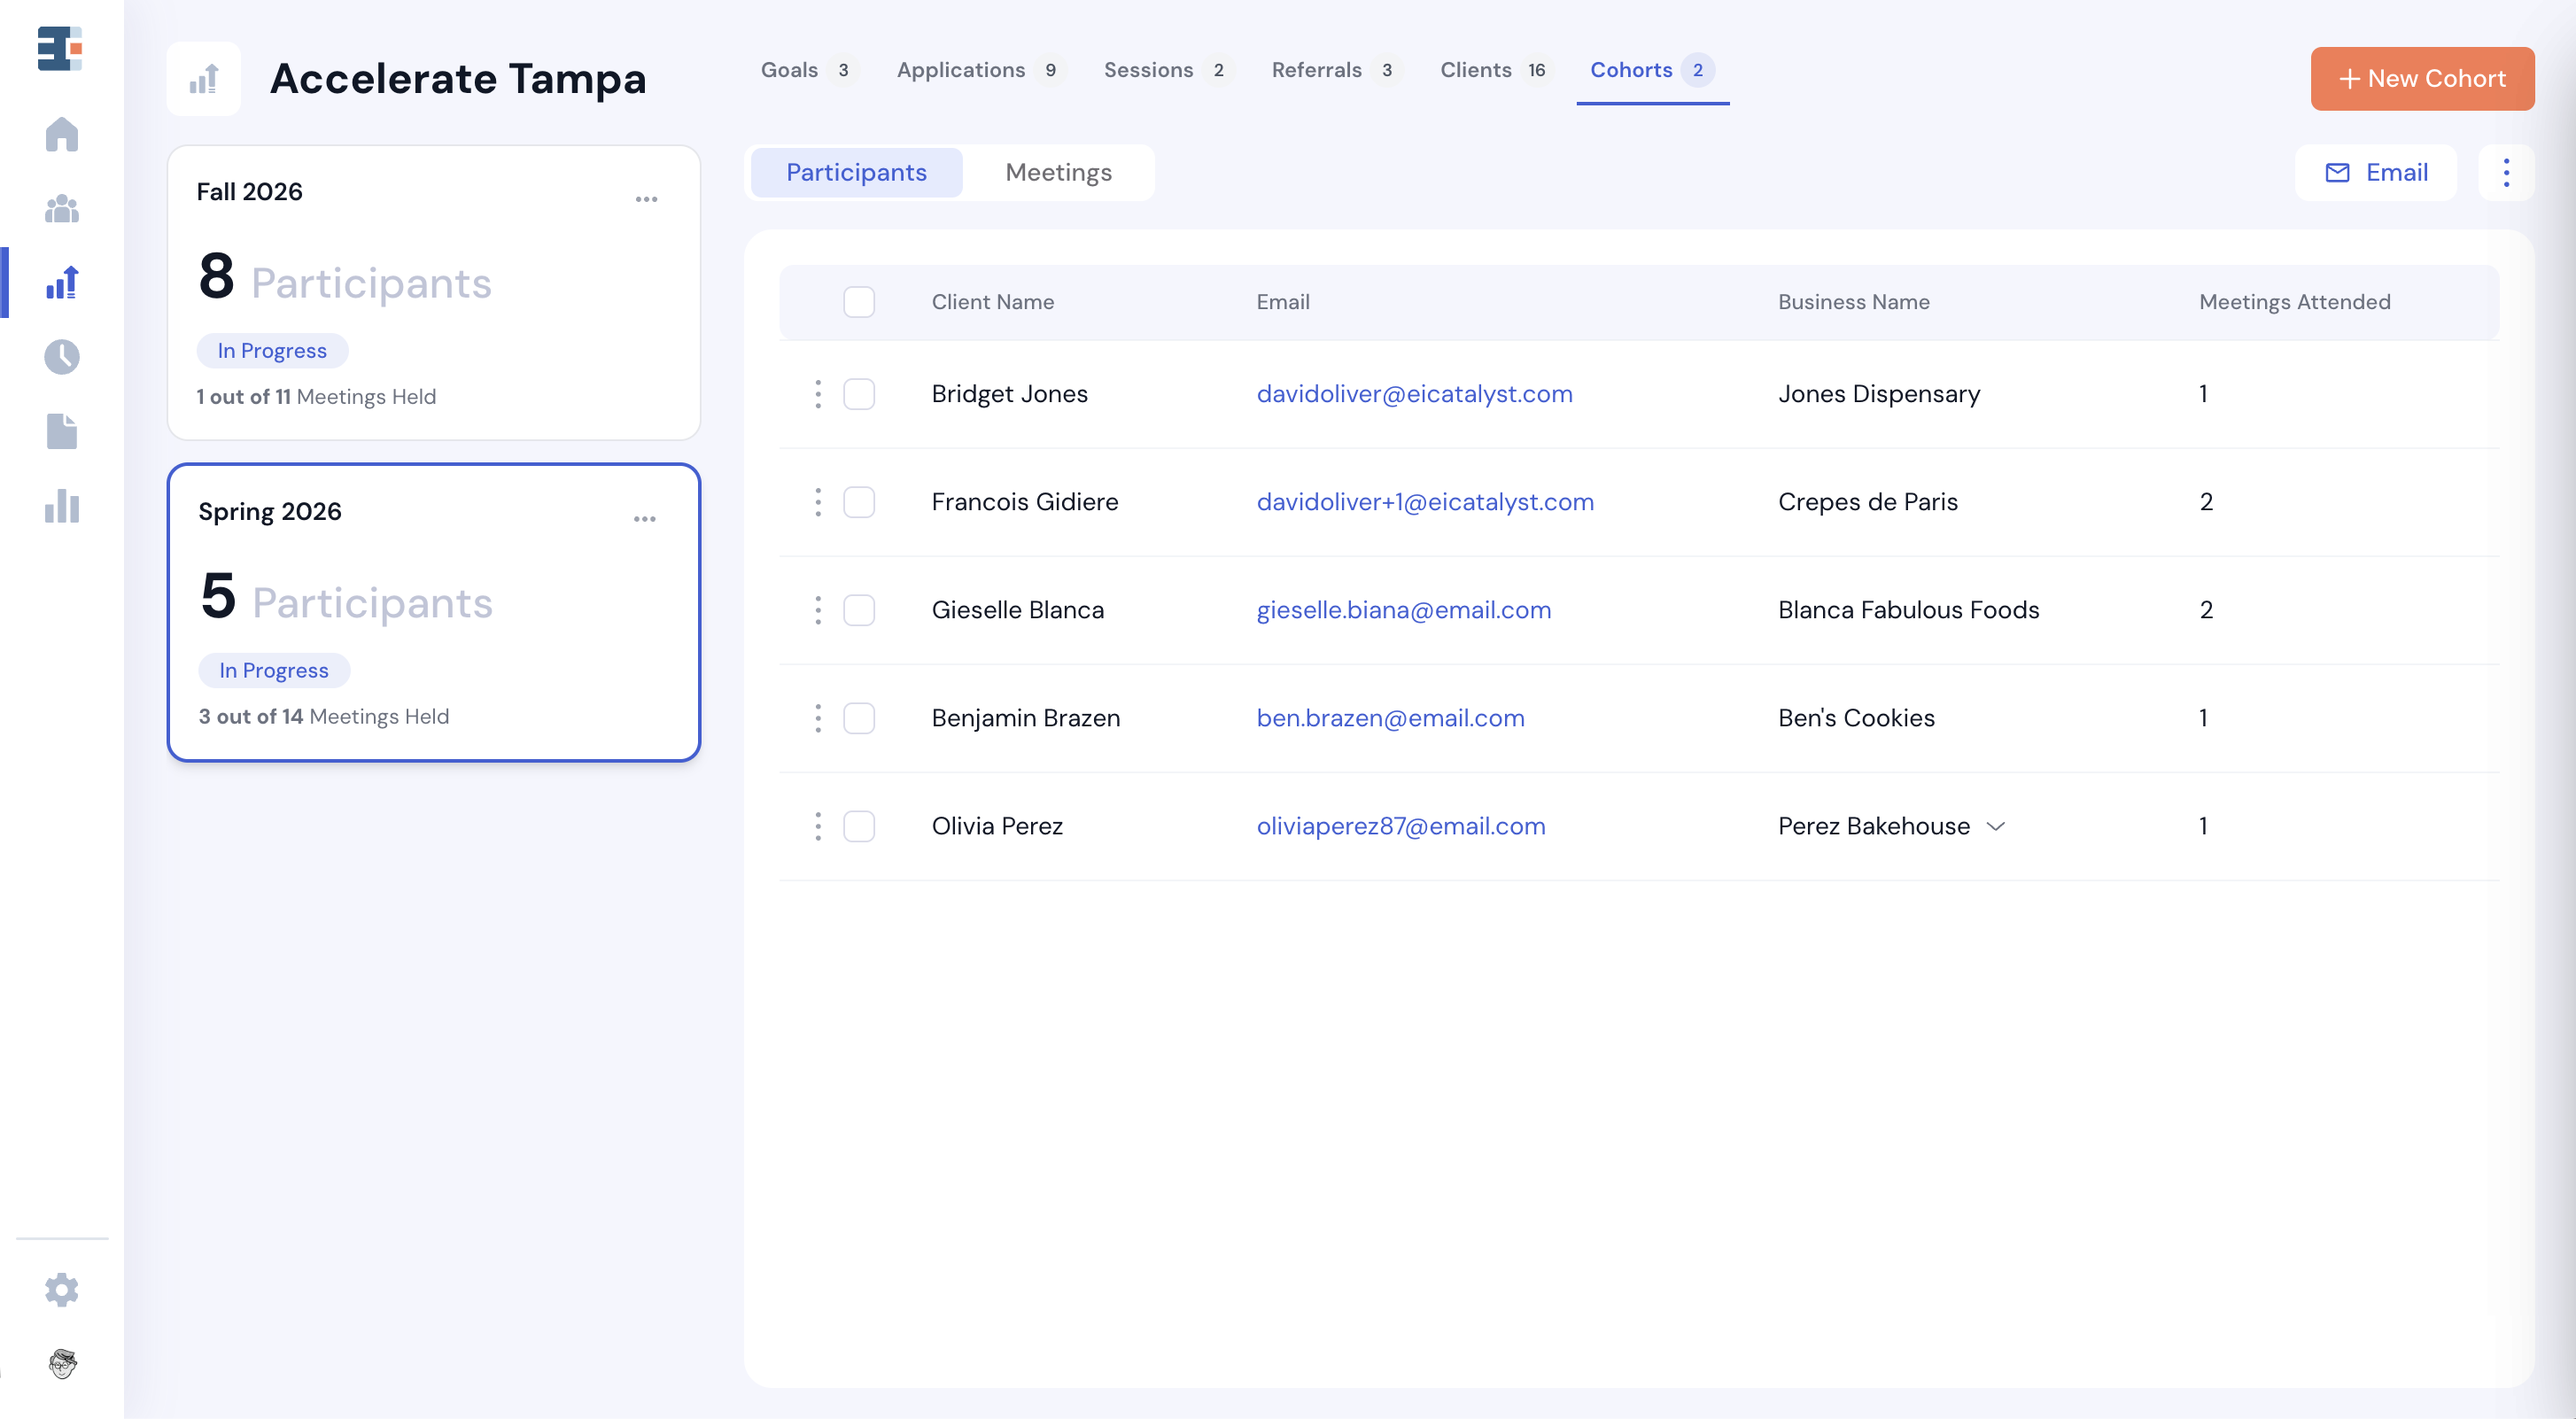
Moving Participants Between Cohorts
Under the Participants tab within a cohort, click the three-dot menu next to a participant’s name. You’ll see two options:
- Add to another cohort
- Adds the participant to an additional cohort without removing them from the current one.
- Move to a different cohort
- Removes the participant from the current cohort and places them in another cohort.
- This is typically used when deferring someone to a future cohort.
From the Clients List
You can also add participants directly from the Clients List Page.
Hover over a client’s name, open the three-dot menu, and select Add to Cohort.
Taking Attendance
To record attendance:
- Navigate to the Meetings tab within a cohort.
- Hover over the relevant meeting.
- Click Attendance.
This opens the attendance panel, where you can mark participants as present or absent.
Self Check-In
You can also use the attendance link at the top of the panel:
- For virtual meetings, paste the URL into the meeting chat.
- For in-person meetings, display the QR code for participants to scan.
💡 The attendance link is time-sensitive. Participants can check in 15 minutes before the meeting start time and up to 15 minutes after it ends.
A Rule to Remember
Participants in a cohort are only counted as “served” by the parent program if they are marked as having attended at least one meeting.
This means that simply adding someone to a cohort is not enough for program attribution — attendance must be recorded.
While it’s technically possible to create a cohort without meetings or skip attendance tracking, doing so may result in missing data in your program impact reports.
Communicating with Your Cohort
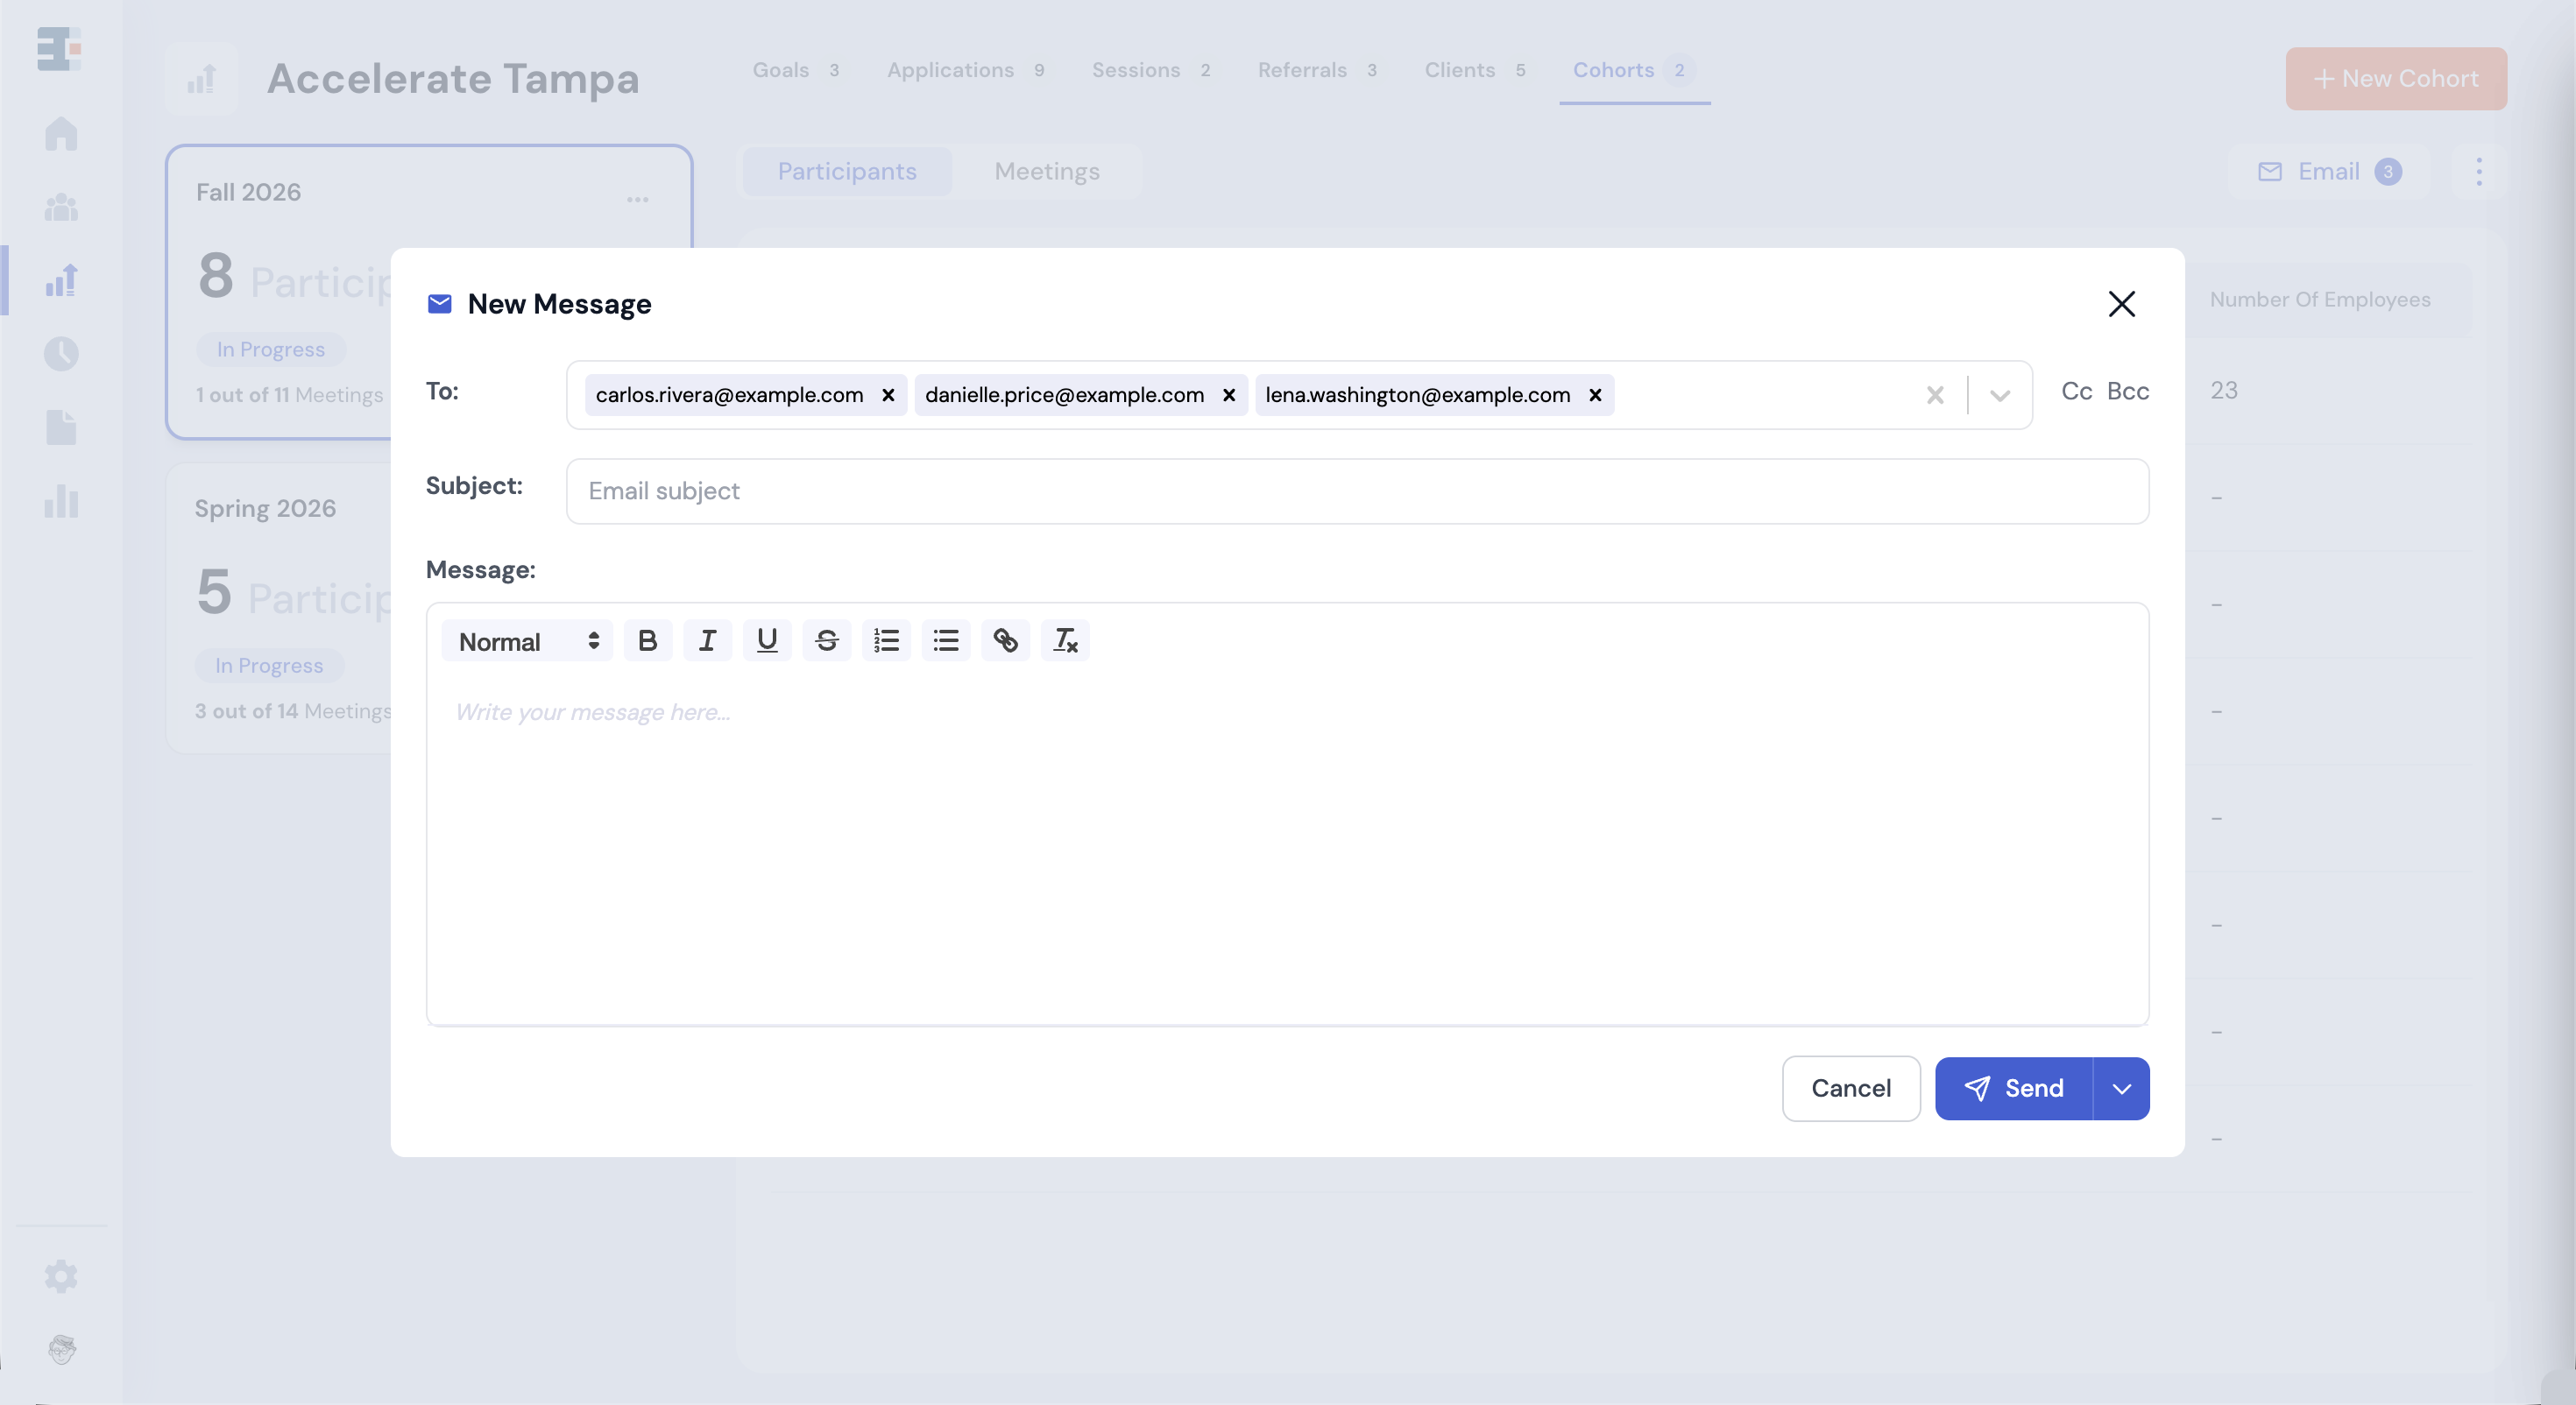
To email all participants in a cohort:
- Open the cohort view.
- Click the Email button at the top of the page.
This opens an email composition modal addressed to all participants.
To email select participants:
- Use the checkboxes next to participant names.
- Select the individuals you’d like to contact.
- Click Email to message only those selected.
The number next to the Email button indicates how many participants will receive your message.
Cohorts are a structured way to deliver services at scale. When properly configured and tracked, they provide clean attribution, accurate participation data, and clear reporting at the program level.